DIY Clay Earrings
A STEP-BY-STEP GUIDE


Here are some of my top tips for getting the most out of your DIY kit.
Working surface: try working on your kitchen countertop or any surface that is either granite, marble, glass or glazed ceramic. This helps the clay not stick to the worktop.
When using a toothpick for the holes, make sure you have the same hole width at the front and back of your piece. Don’t forget to do this before baking the clay.
Use household objects to create patterns and textures on your clay, some of my favourites are: small lids, bubble wrap, fork and toothpick.
Once your piece is baked you can use the sandpaper to smooth out the edges. Rub any type of oil on the piece before sanding to avoid scratch marks.
Did you know that you can bake your clay multiple times without ruining it? This technique is great for layering designs and patterns with different colour clay without deforming it.
If the clay sticks to your wooden roller, you can easily clean it by using the sand paper.
What you’ll need:
Clay
Roller
Cutter
Sand paper
Toothpick
Earring backs
Jump rings
Earrings cards

1. CONDITIONING
Knead your clay with the roller until it is soft but not sticky.

2. CUTTING
Roll out the clay keeping a 4mm thickness and cut out the shapes you want.

3. HOLES
Use your toothpick to make holes for the jump rings before baking them.
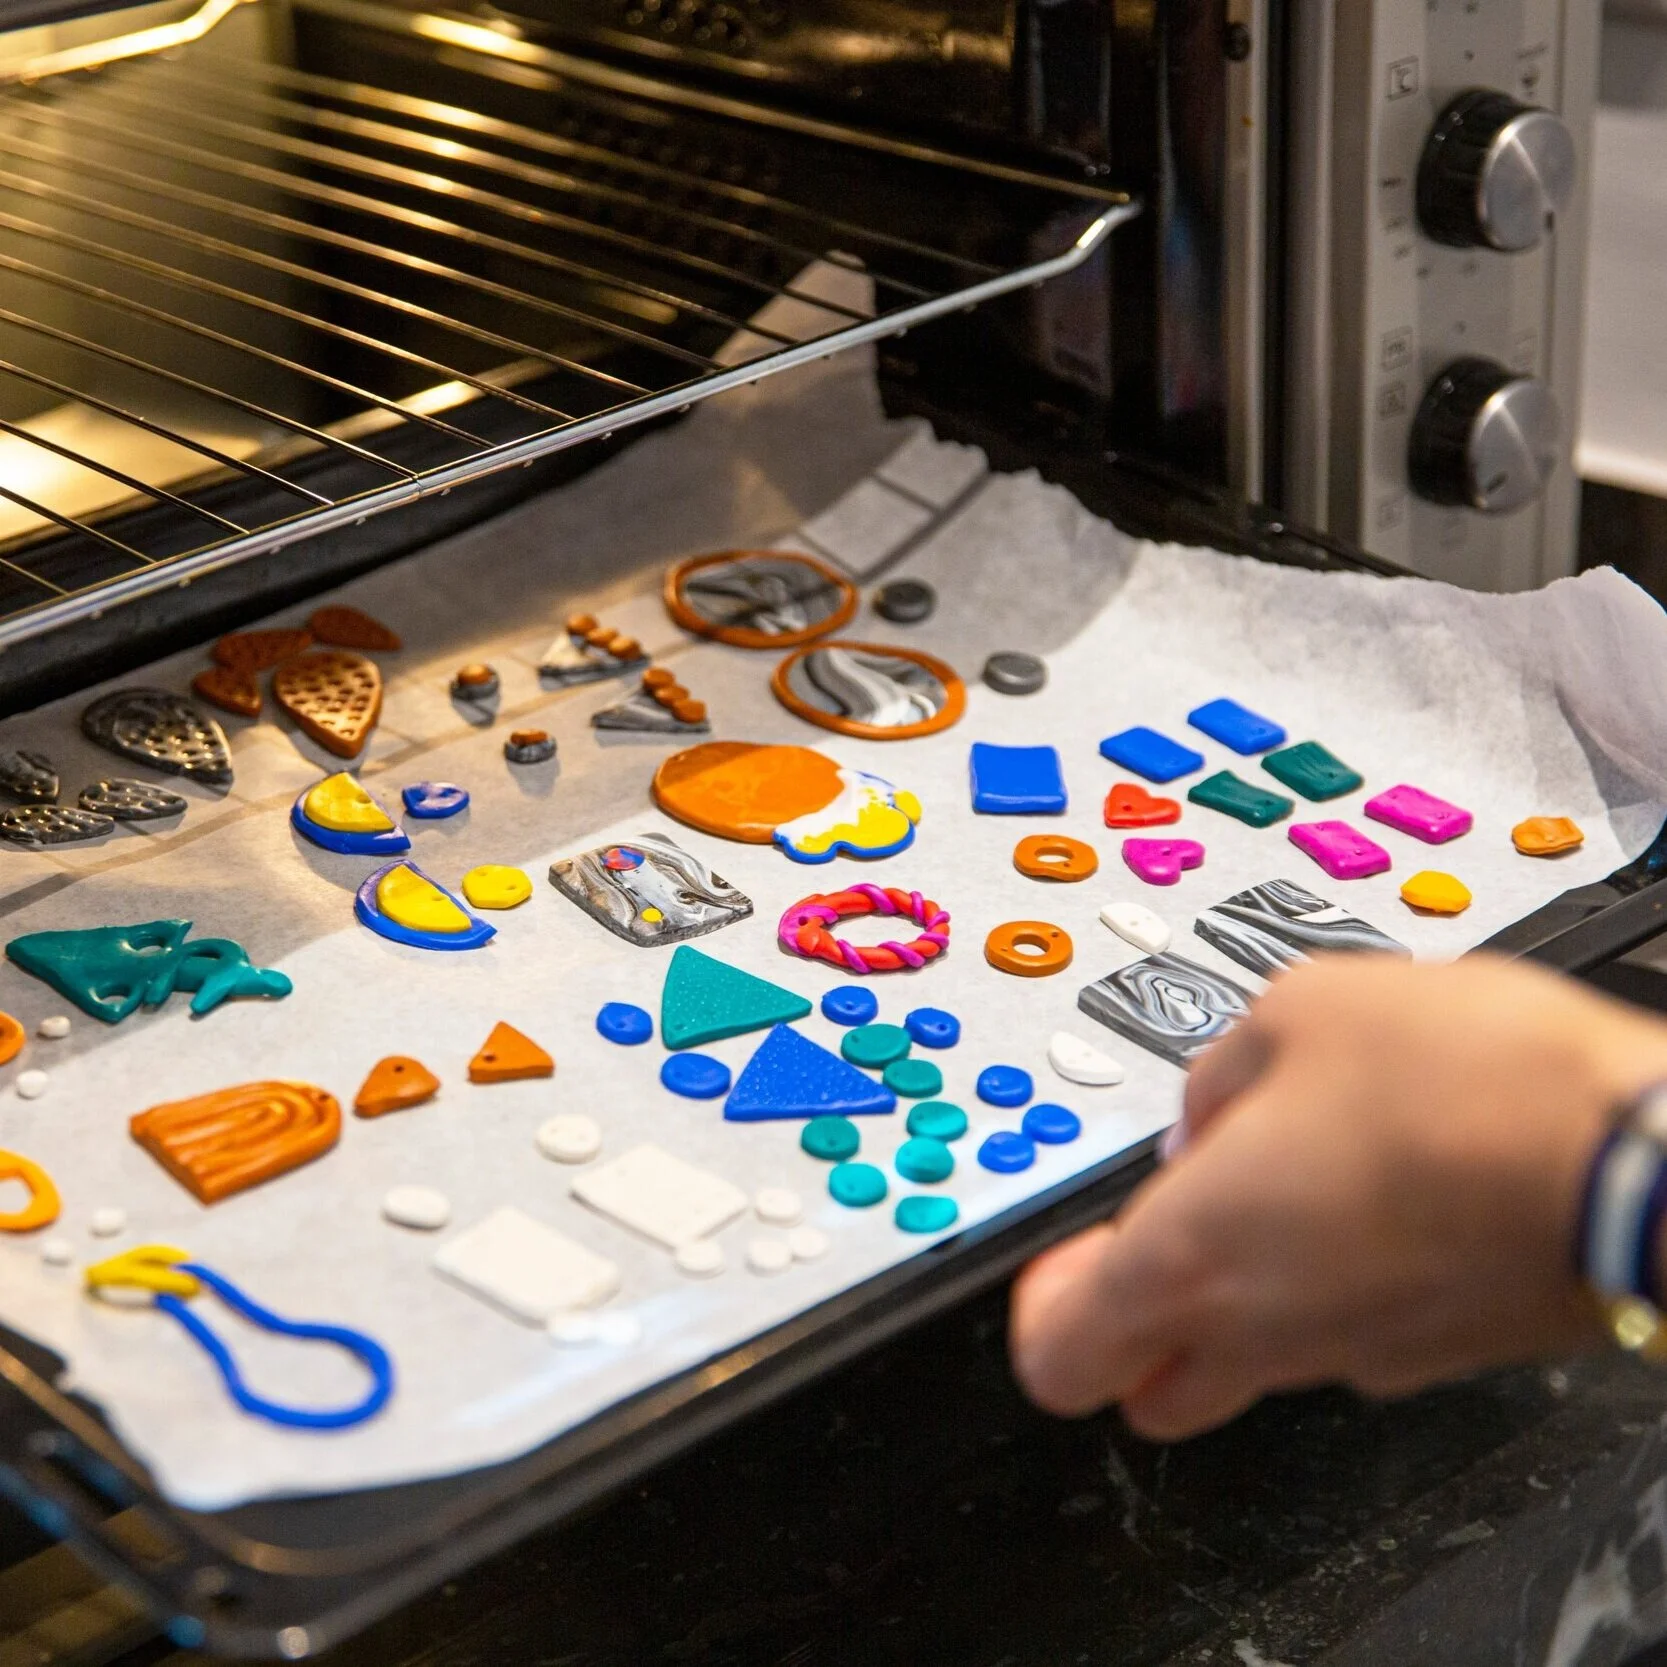
4. BAKE
Bake your pieces on a baking paper on a tray in the oven at 130 degrees for 30min.
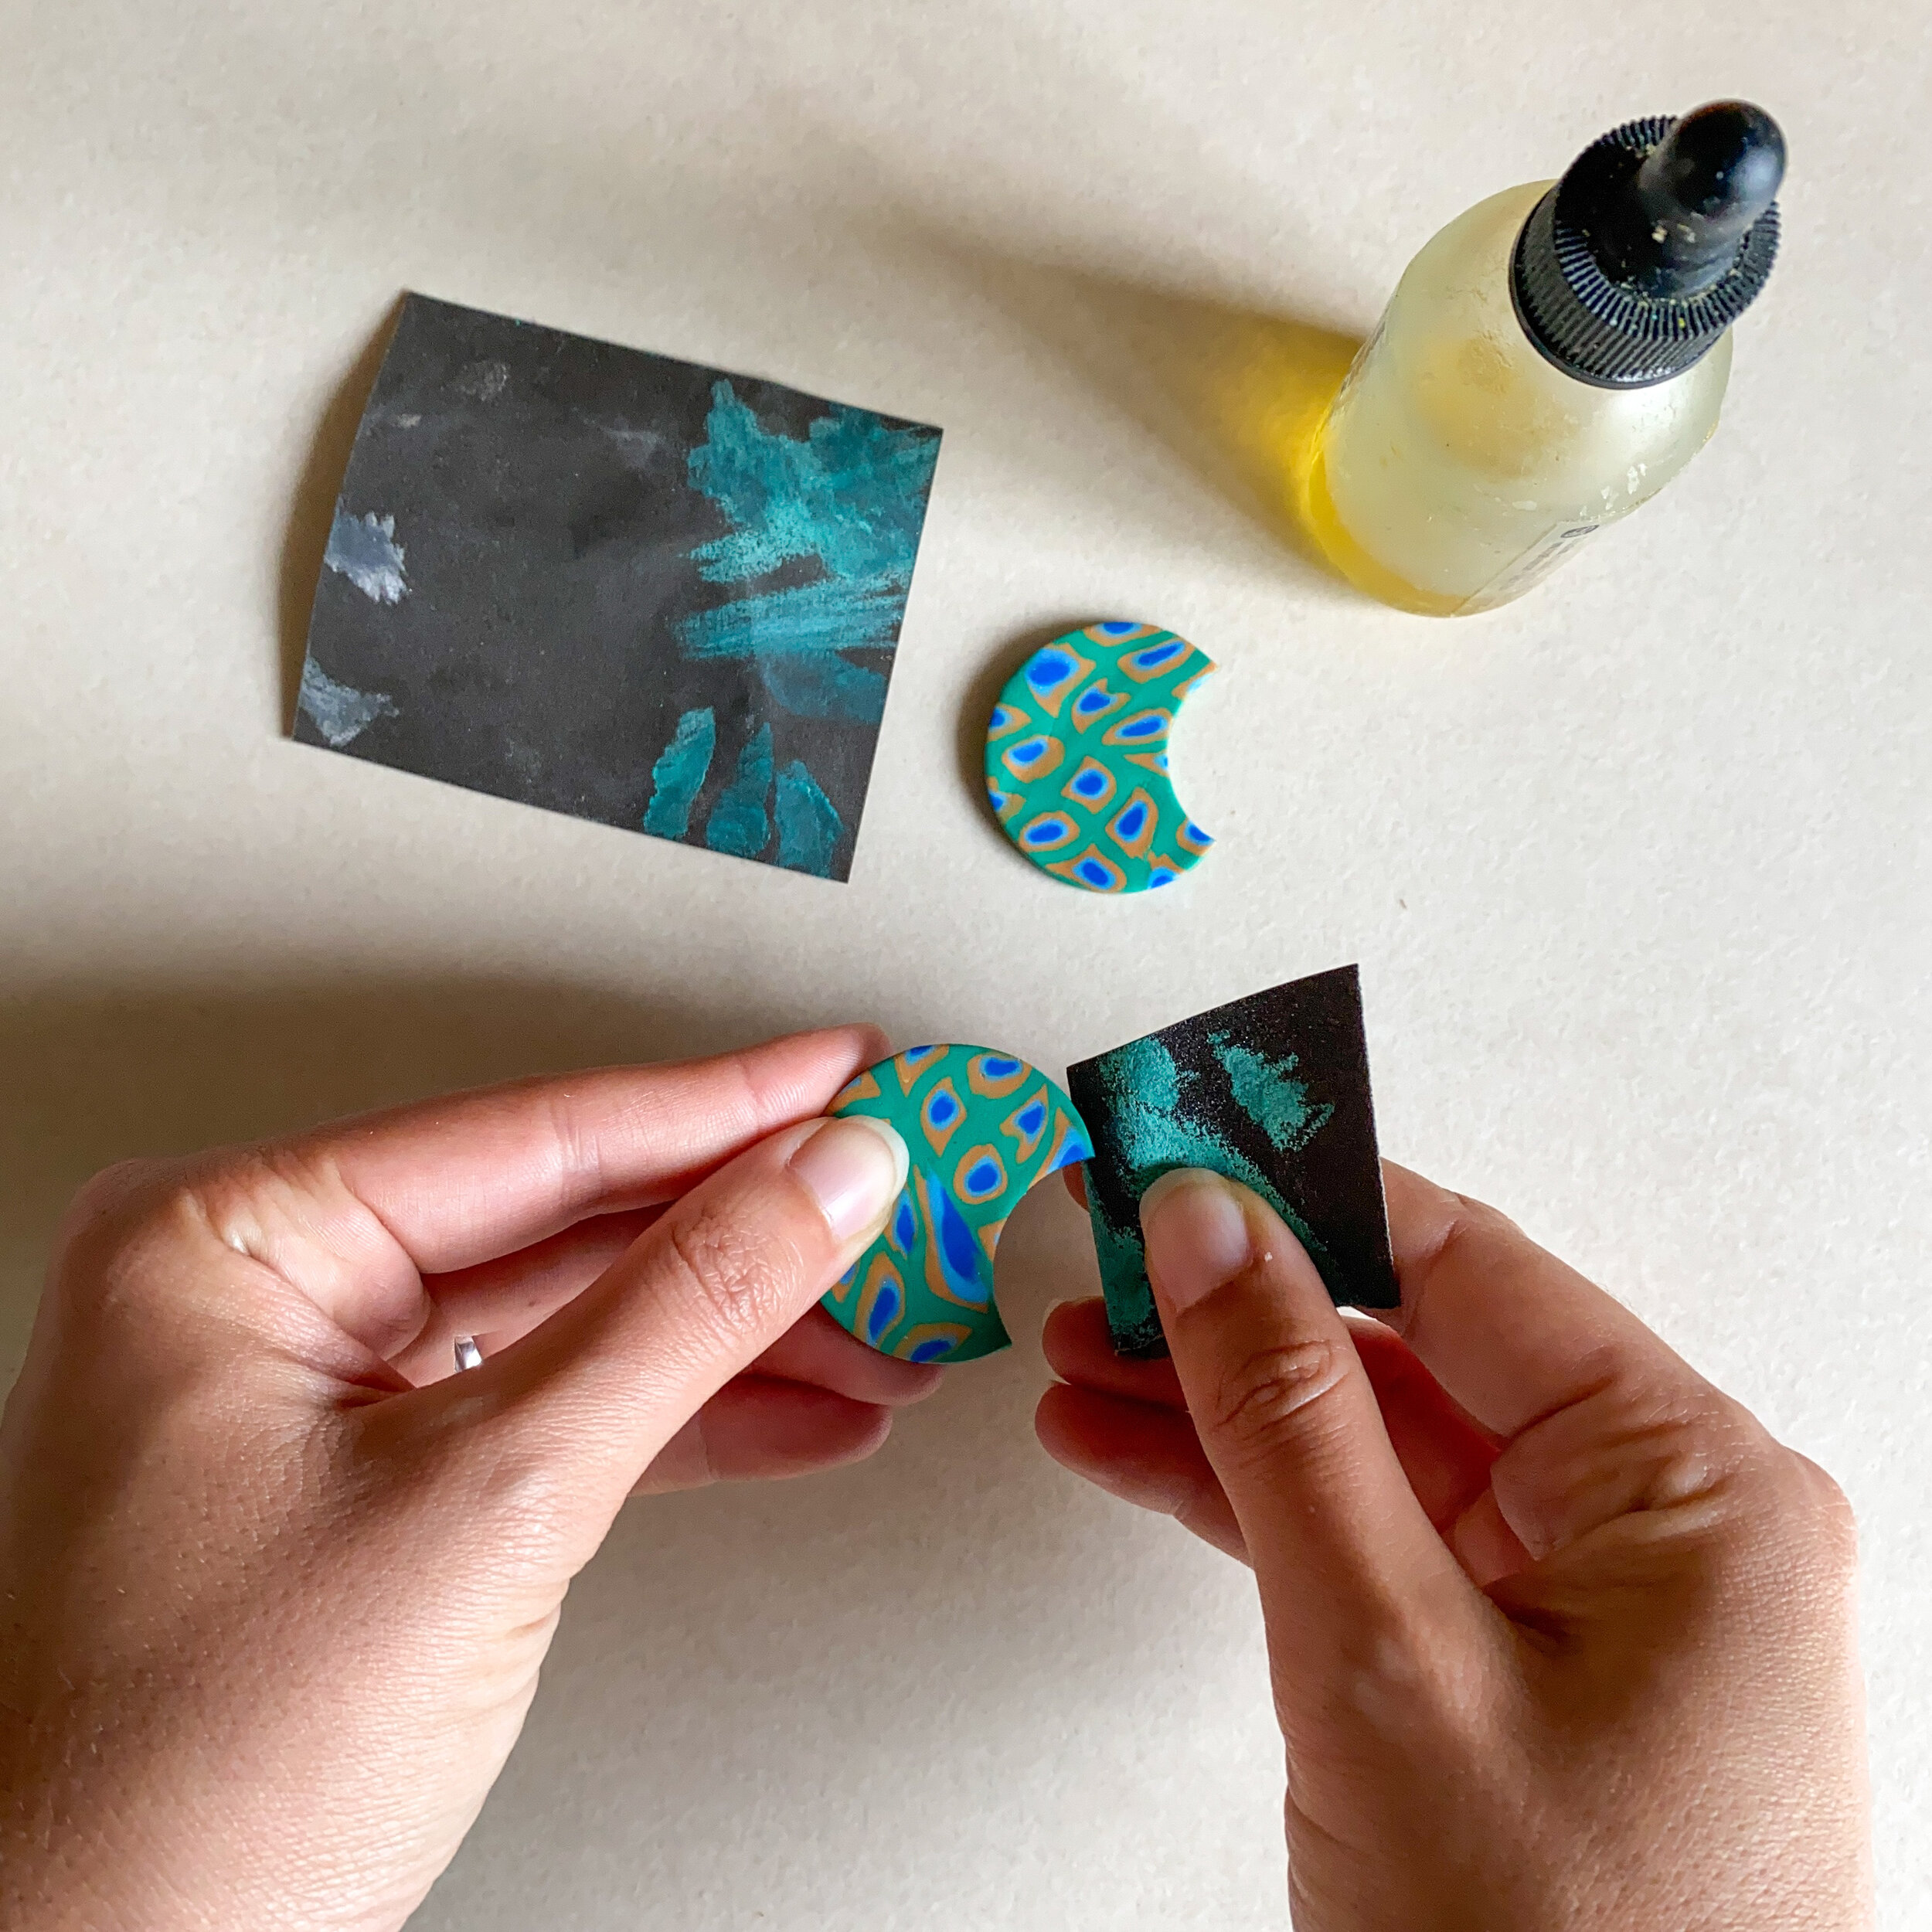
5. SAND
Use the sanding paper to smooth out the edges of your pieces. To help you avoid scratch marks, you can rub some oil on the piece first.

6. ASSEMBLE
Use the jump rings to assemble your pieces. You should always open the jump ring sideways. You can do this using your fingers or pliers.